
The Chalk Shed Rehab Project
A maxim I live by comes from the great comedian Steve Smith of The Red Green Show, “If the women don’t find you handsome, they should at least find you handy.” Of course this mainly applies to fixing things around the house or saving myself a couple hundred bucks on body work for a vehicle. As satisfying as the completion of these projects can be, it is the projects that relate to hunting that are the most enjoyable. In this post my handiwork is applied to rescuing a chalk antler I found earlier this week when I was shed hunting with my wife and kids.

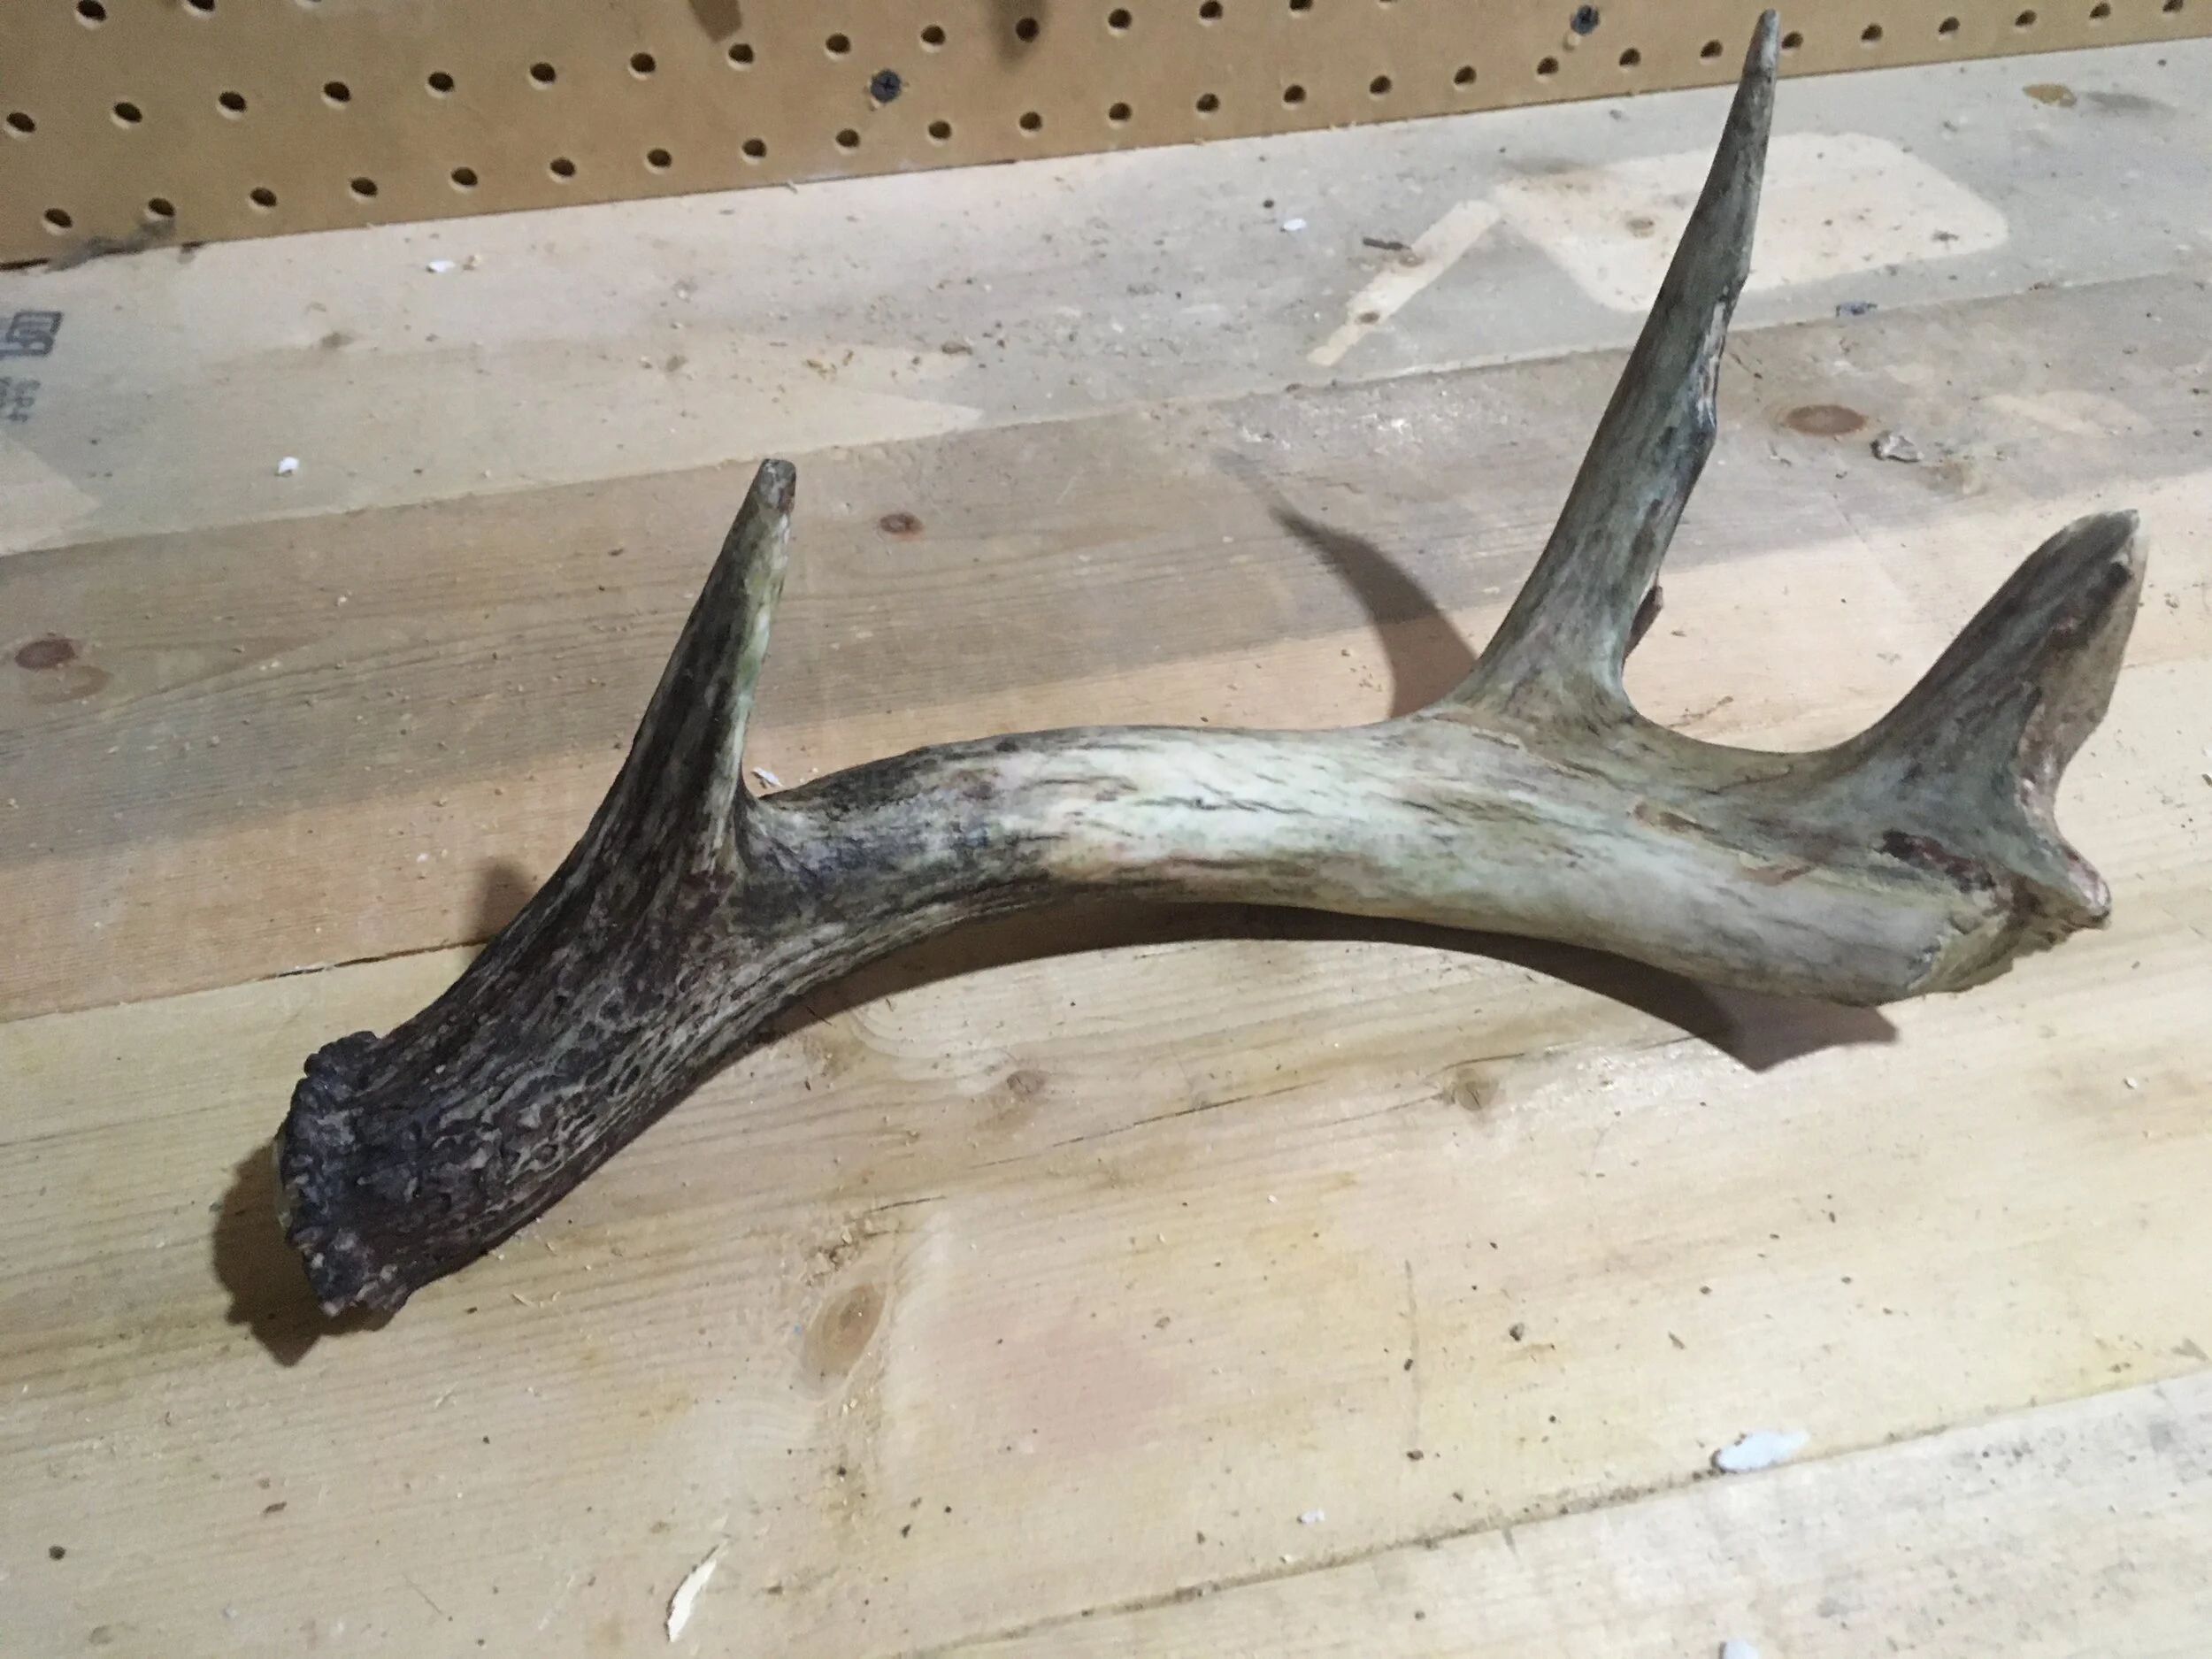
The two salvageable pieces of antler.
If you have a similar life situation to me, you value every scrap of time you get to look for antlers. When that means taking my wife along with my 2 year old and 1 year old, the objective changes to some degree, but fortunately I spotted an antler in a mowed CRP field. The problem was it was more than a few shed seasons old and a tractor tire found it before I did. Nonetheless I snapped the obligatory ATL photo and uttered another maxim I live by, “better than nothing” and started picking up the best pieces I could find to go with the mostly intact half of a main beam and brow tine that I had spotted with my binoculars a few moments earlier.
This of course prompted the instinctive response of my wife who paired an eye roll with, “You aren’t going to keep that are you?”
Challenge accepted.
Chalk antlers present many challenges. First of all they ain’t pretty. The super bleached, dingey, mildew colored bone demands a coloring makeover. Structurally, the weathering of wind, expansion and contraction during yearly temperature fluctuations, along with sun damage and frost wedging that occurs over the years of being in the elements really makes the antler quite brittle. Cracks and holes can be found all over the antler. Field mice and squirrels further contribute to the breakdown of chalky sheds.

The wood glue worked nicely. Unfortunately the antler had changed shape from weathering and being crushed by the tractor tire so the seam didn’t fit together perfectly.
As with any restoration project, the structural problems have to be addressed first.
Step 1 was to rejoin the two salvageable pieces of antler back together. A non-expanding glue was needed so the two pieces wouldn’t bulge apart or cause additional work due to scraping excess glue off the seams once the glue had dried. Wood glue was my choice. Once the glue was applied I held the pieces together with a vise grips and waited for step 2.
Once the structural integrity of the antler is restored, it's time to put lipstick on the pig.
Step 2 began once the glue was fully dried. Once the antler was pieced back together, the “beautification” process could begin. The good thing is, the aesthetic work further builds up the structure of the antler. The cracks and pinholes that network throughout the antler compromise its structure and make the antler look pretty ugly. To fix that problem I used a couple different products meant for filling cracks and divots- wood filler and crack filler/spackling. I was a little concerned about the wood filler bonding with the antler, but I figured a calcium based product like the spackling would bond really well. Thankfully both worked out great. The wood filler worked best for the larger repairs like the broken sections of the antler. The spackling worked really well for shallow expansion/contraction cracks and mouse chew marks. I also used the spackling to cover the wood filler I used to rebuild the back half of the G3 so the color of the antler would be more uniform.
Step 3 was all about texture repair which means sanding. One of the best characteristics of fresh shed antlers is the slick, smooth texture. To restore this I used a really fine sanding grit (400, is what I had on hand, but something as low as 220 grit would probably be good too) just to take the gritty texture of a chalky antler away and also to make sure I didn’t eat up too much spackle or wood filler.

Thankfully the seam along the inside of the main beam fit together a little more tightly than the seam on the outside.
Step 4 brought up the fun part- color restoration! All shed hunters love finding fresh brown antlers. Chalk sheds are literally the opposite of that. A buddy of mine tried staining a bleached antler with coffee, but counselled me against that, and suggested I use wood stain instead. At this point in the project I had only used materials I already had on hand. I had some staining pens that worked well for the dark coloring of the antler base. I used red mahogany and dark walnut for most of the color, but I also had a can of a lighter shade of walnut that I used over the darker pen colors. I ordered a couple cans of stain and the most useful color was just simply a natural stain color- a shade darker than transparent. At first the stain seemed to be going on well, but I quickly started to see a major problem… any moldy green staining hidden deep within this ancient, crusty antler was immediately summoned to the surface by the wood stain. It was terribly ugly. At first I thought this whole project was ruined by my staining error, but after getting this far into the project I was not going to give up. Which took me to step 5.
Step 5 required drastic sanding! Obviously the stain made the antler look worse. It needed to come off. Besides highlighting any green inside of the antler it also made the brown coloring on the base of the antler too dark. The usefulness of stain is based on its ability to penetrate deep into the material it is applied to so I knew I wasn’t going to be able to totally remove the natural colored stain from the antler. Up to this point I had only used 400 grit sandpaper, but I needed some really coarse grit to erase as much of the green color as possible so I worked all the way down to 60 grit to remove the stain and the source of the green coloring as best as possible. Thankfully, after enough sanding time I had succeeded in removing most of the green color. For the especially stubborn green portions of the antler that I couldn’t totally clear away I covered with the red mahogany stain pen again. Finally with a few wood filler touch ups and some 400 grit sanding the antler was complete.
Gear Highlight: Whenever you are working with tools or shards of antler there is always the risk of getting a nasty cut. We keep a My Medic MYFAK med kit in the house for such unfortunate occasions. The wound care materials in that kit could save a trip to the ER or prevent more serious problems in the healing process. Use the My Medic discount code firstgen15 at checkout to save 15%.

Once the glue dried it was time to fill cracks and rebuild the G3 tine.
Final Notes: In other online antler/skull restoration tutorials the DIY artists often start with a thorough bleach or hydrogen peroxide cleaning of the bone they are restoring. I should have done this. Although my antler was really old and may not have gotten totally cleaned, I think a good chemical bleaching may have greatly diminished the mold stains from the antler.
Another thing I should have considered is how the color wheel (yes, the color wheel we learned about in grade school art class) would apply to my rotten antler. I think the walnut colored stain had some yellow tones mixed in with it which helped highlight the green mold stains in the antler, and the same was probably true for the natural colored stain. The red mahogany colored stain worked well to cover the green because of its red tones.
The most successful part of this antler rehab project was the structural rebuild. The wood glue worked really well reattaching the separate pieces as did the wood filler and spackling for filling gaps and improving the overall texture. The wood filler worked much better for the larger repairs and the spackling was excellent for filling the tiny hairline cracks of the dried out antler.
In the end I’m pretty happy with how the chalk antler rehab worked out. I would grade my final result as a 7.5 out of 10 with all things considered.
I think most who see the antler sitting by my TV will think “Hey that’s a cool broken, brown shed you found. I wonder what the deer that he was fighting with looked like?” My reply will be, “I’m fairly certain the other Deere was green and yellow and the size of a tractor.”

The crack filler/spackling worked really well for pressing into cracks and seams all over the antler.

The stain pens worked really well for the antler base. I think a medium brown mixed in would have created an even more realistic color. I used a couple other fresh brown sheds to compare for realistic markings and shading on the main beam and G2 and G3 tines.

After I applied the natural colored stain, the green algae stains in the antler showed up in full color.

I got the base a little too dark, but I think the coloring on the majority of the main beam and G2 and G3 turned out okay.

Before
After
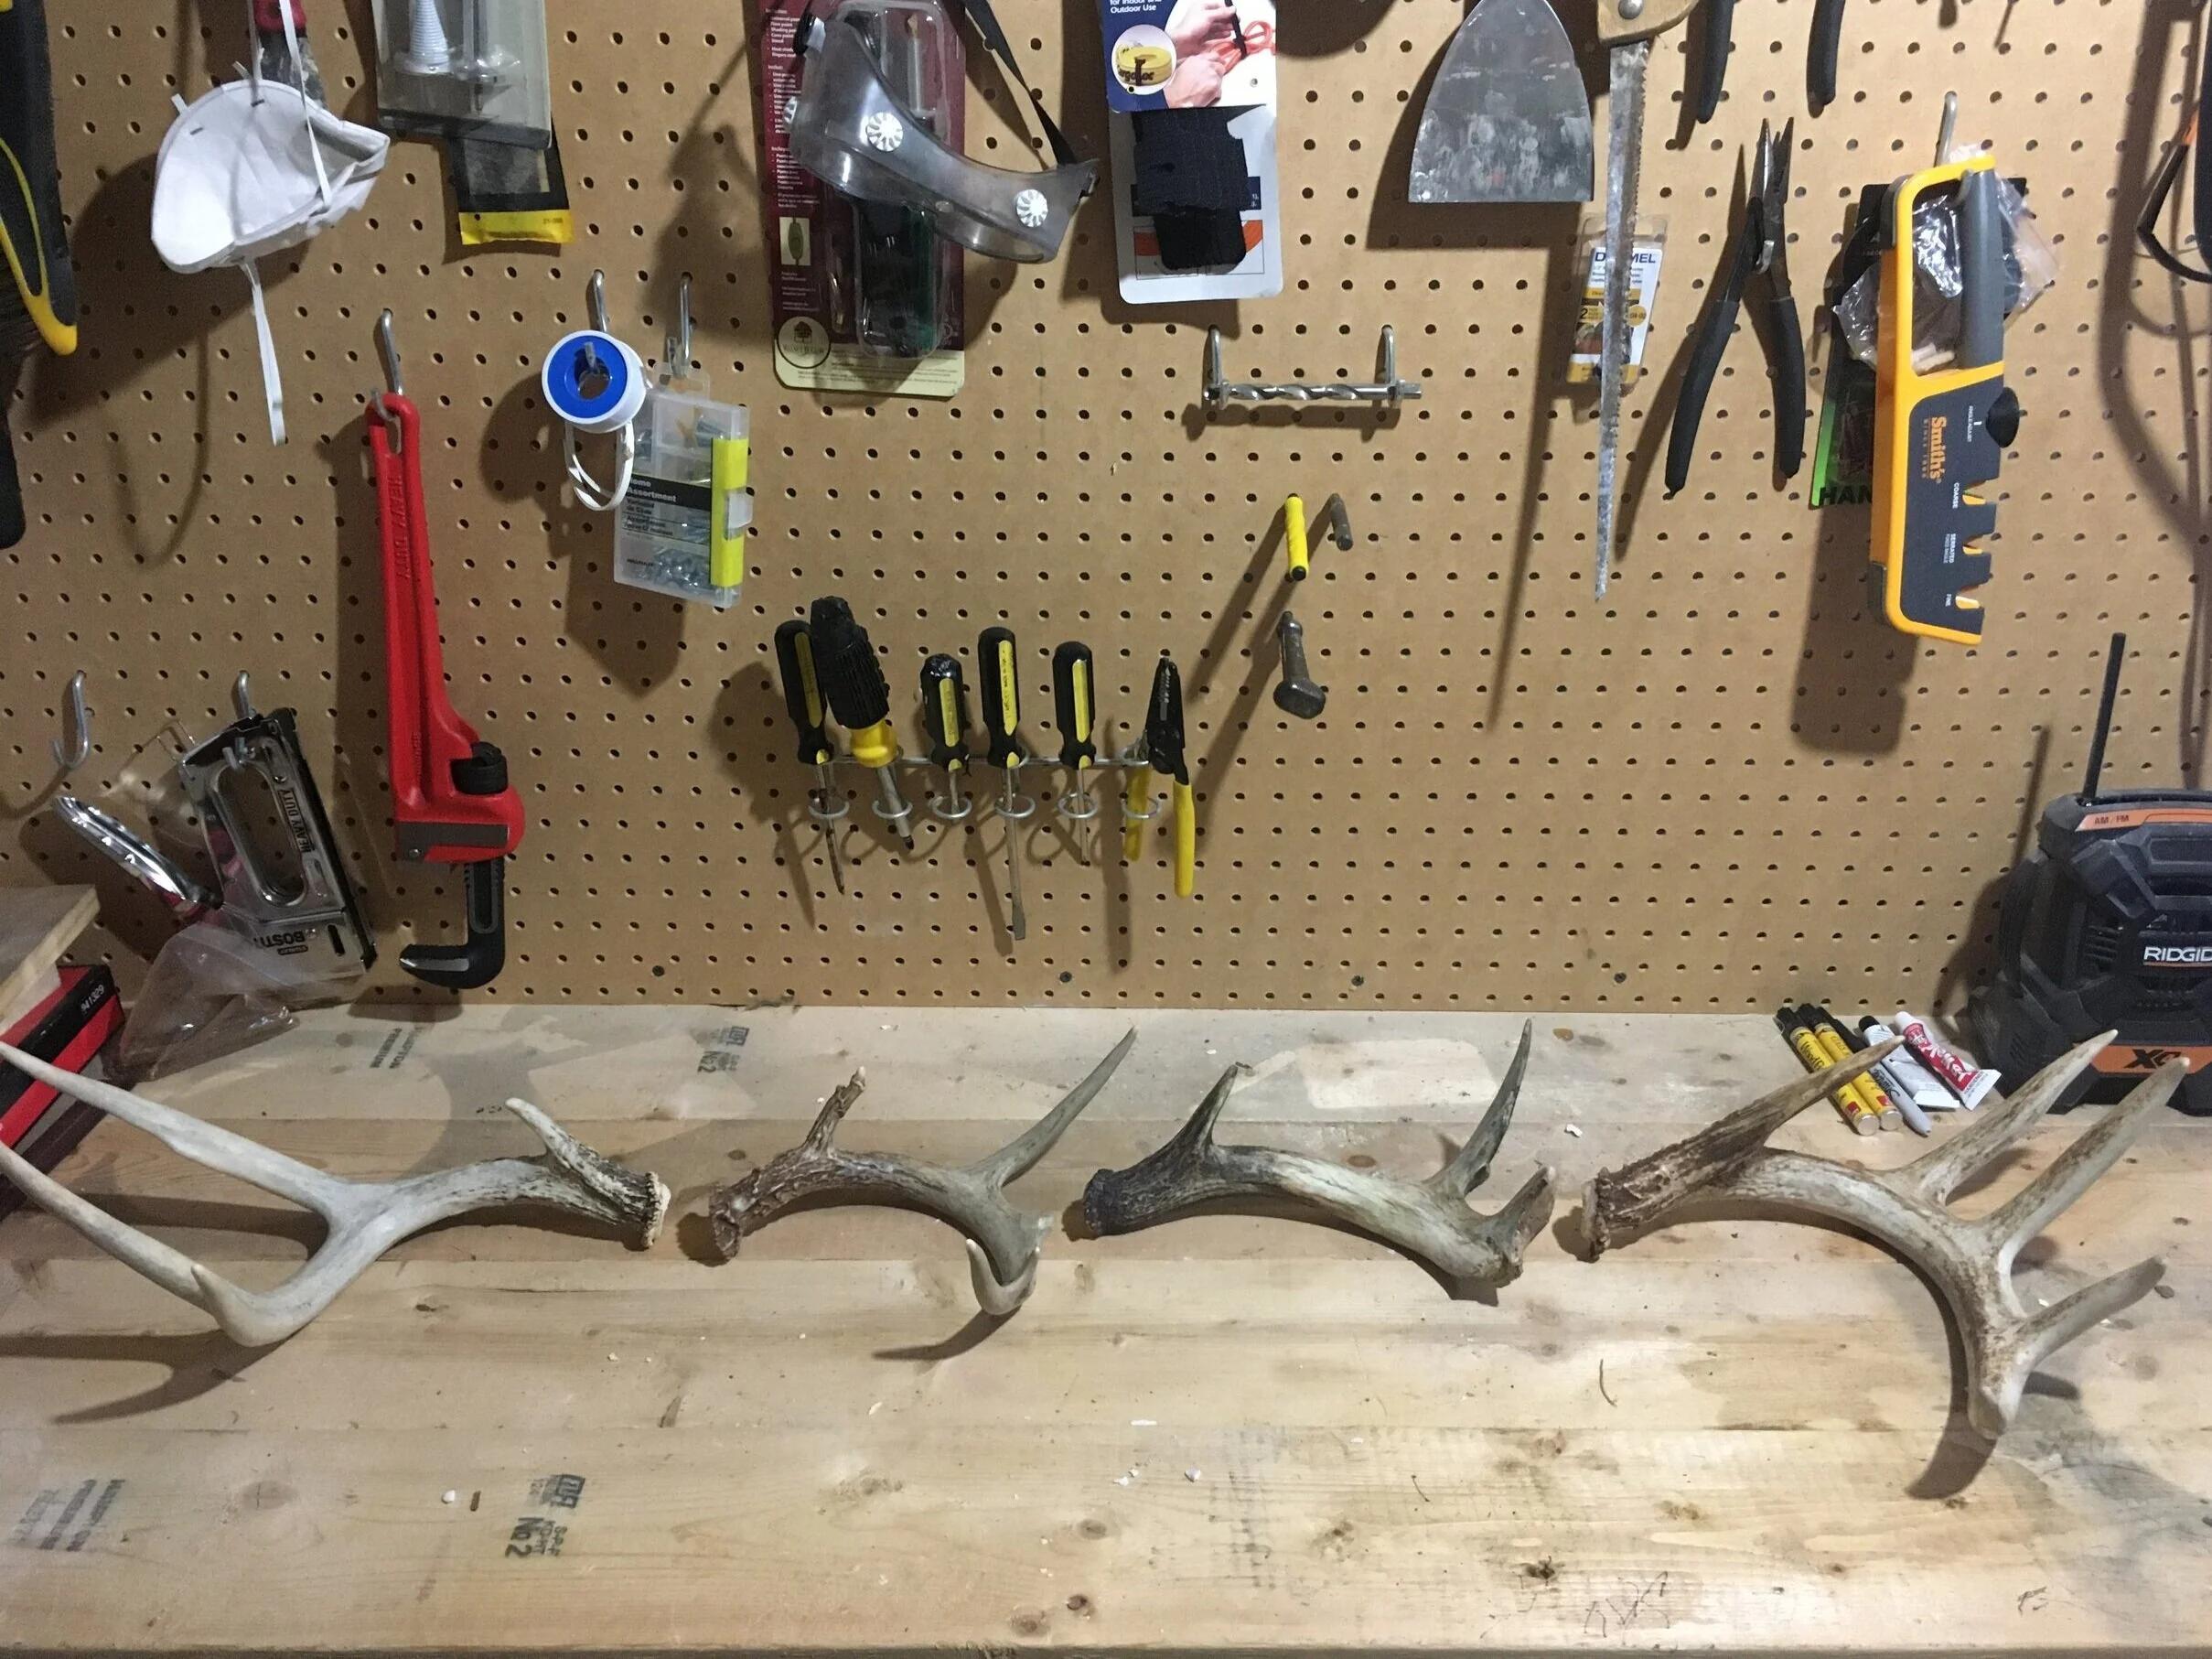
The refurbished antler has a few coloring issues, but overall it fits in well with some other fresh brown sheds I’ve found through the years.