
Trail Camera Basics
One of the greatest helps to me as a first generation hunter was the fact that my family has access to multiple farms that hold deer during the hunting seasons. This allowed me to focus mainly on just harvesting deer for my first several seasons. Although I was happy to show up on the farm and take advantage of any opportunities the deer provided for me, I knew I was missing an important part of the process- offseason scouting.
There are so many components that go into having a quality offseason scouting plan, but one of the simplest ways to get into scouting is through using trail cameras.
The two primary properties I hunt each year are multiple hours away from my home. This reality greatly limits my on-site scouting, so trail cameras are my primary source of information on what the deer herd dynamics are throughout the year. As handy as these remote scouting devices can be, maximizing their usefulness is not as simple as just strapping them to a tree and waiting for the game to walk by.
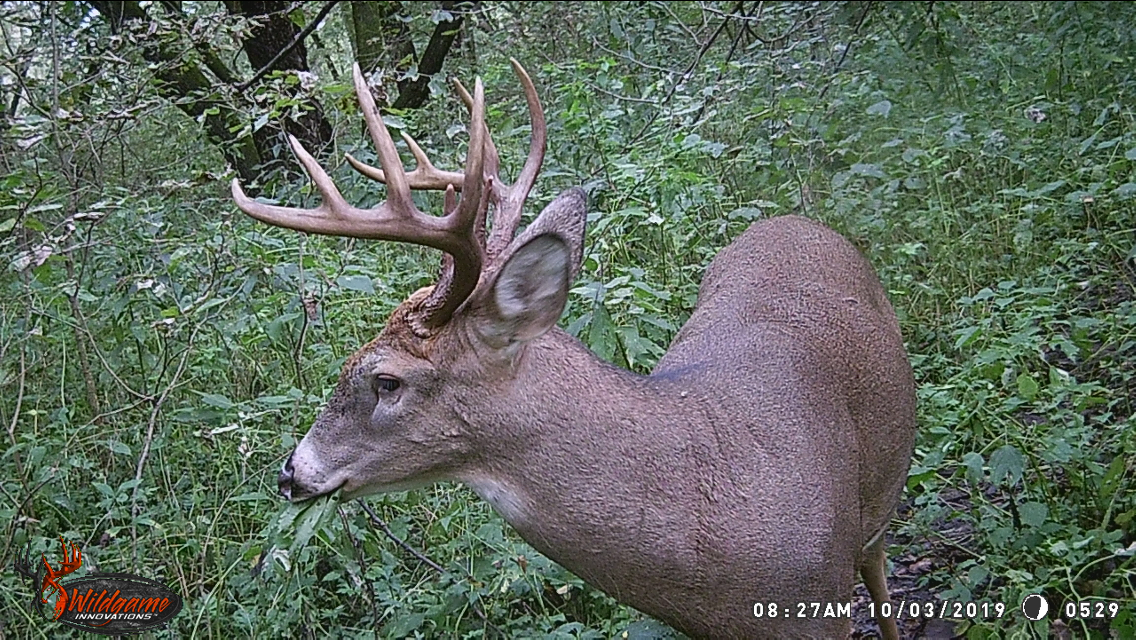
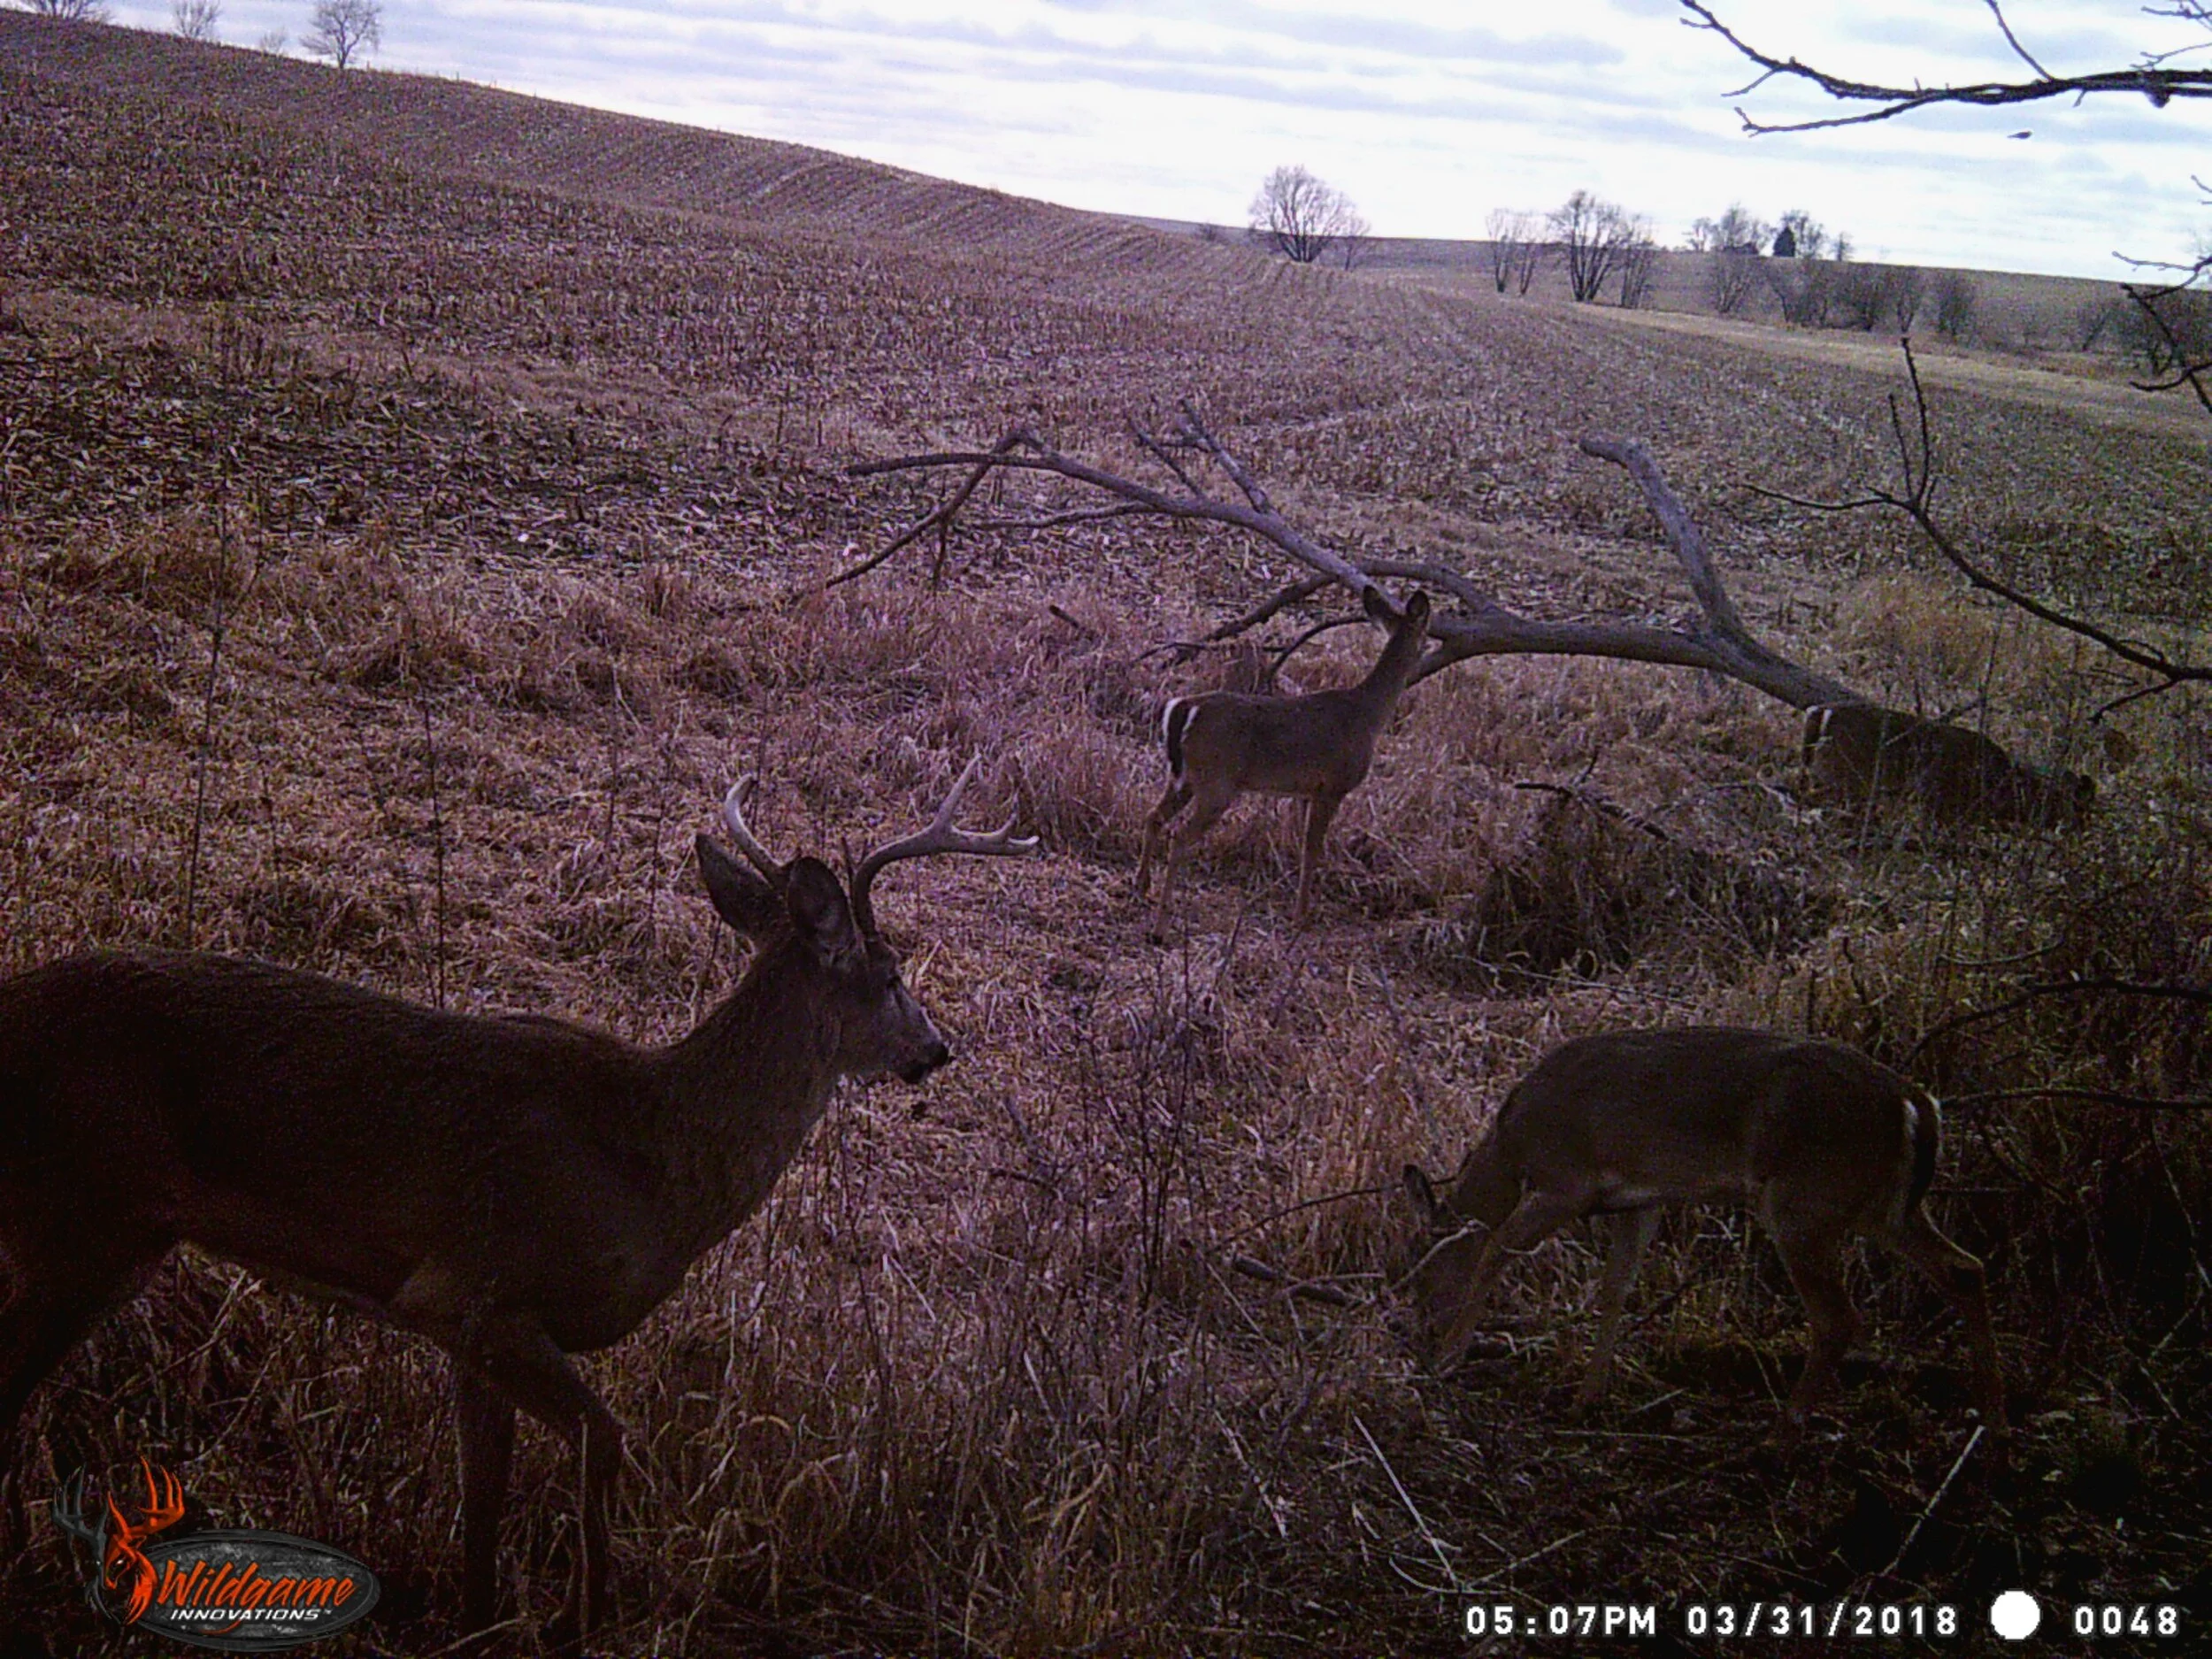
First you need to establish your goal for the camera you are going to hang. Are you wanting to take inventory of the bucks on your hunting property? Are you trying to pattern how the majority of the deer move around and use the property? Are you trying to lock in on the habits of a specific buck? Whatever your goal is, you need to establish that before you hang your cameras. If you want general information about the number of deer and maybe when and where they travel or feed most frequently, you will want to focus on heavily used trails along edge cover. Most deer hunters refer to these spaces as transition areas. Here you will have your best chance at seeing the greatest number of deer and maybe get some intel on their normal schedules for feeding and bedding. If you want to keep tabs on a specific buck or two you will need to locate hidden bedding areas, use landscape features that make sense for holding a reclusive old buck and generally wade deeper into cover to try and pinpoint where he spends his time.
Second, take advantage of the fact that you are on the property you are going to hunt, and accomplish some on-site scouting. This will allow you to notice important signs of frequent deer activity such as rub lines, old scrapes, heavily used trails, scat, large bedding areas, etc. Once you have identified a few areas that seem to get a lot of deer traffic you can look for a good structure to mount your camera on.
Third, when you are ready to mount your camera on a tree or some other structure, you need to be meticulous with preparing the area. If you take the time to knock down all of the grass, and trim all of the branches within your camera’s field of view (take several test photos with your camera before you mount it so you understand the camera’s field of view, range and sensitivity to movement) you will save yourself one of the biggest frustrations of using trail cameras- a documentary of hourly plant migration. I find it helpful to keep a hatchet with me or a large knife to help with the trimming.
Trail cameras provide tremendous scouting potential, but only if used correctly. Just like most other aspects of hunting, the more work invested, the better the return.